
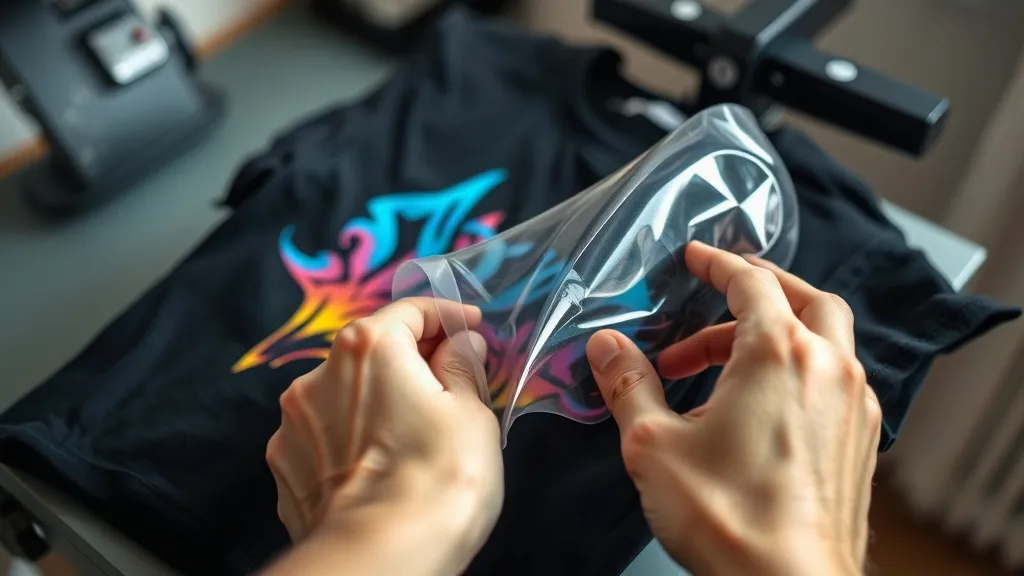
If you've been exploring custom apparel printing, you've likely encountered dtf transfers. This innovative technology is changing how creators, small businesses, and hobbyists approach fabric printing. Unlike traditional methods, dtf transfers offer a unique blend of versatility, durability, and color vibrancy that's hard to match. In this guide, we'll walk you through everything you need to know to get started.
What Are DTF Transfers?
DTF stands for Direct to Film. It's a printing process where your design is printed onto a special PET film using water-based inks, then coated with a hot-melt adhesive powder. When you're ready to apply it, you simply heat press the film onto your fabric. The result is a soft, stretchable print that bonds permanently to the material.
What sets DTF apart is its ability to print on almost any fabric: cotton, polyester, blends, even leather and denim. You don't need to pre-treat the fabric, and there's no weeding involved like with vinyl. This makes it incredibly accessible for beginners and efficient for professionals.
Why Choose DTF Transfers?
There are several compelling reasons why DTF has become a go-to method for many printers.
- No fabric restrictions: Works on light and dark garments, natural and synthetic fibers.
- Vibrant colors: The water-based inks produce bright, opaque prints that pop.
- Soft feel: The prints are thin and flexible, so they don't feel like a heavy patch.
- Durability: When applied correctly, DTF prints withstand repeated washing without cracking or fading.
- Cost-effective for small batches: No minimum order quantities, and you can print one-offs easily.
For a deeper dive into the technical aspects, resources like dtfprintgo.com offer valuable insights, but let's cover the essentials here.
How to Apply DTF Transfers: Step by Step
Applying a DTF transfer is straightforward, but getting a perfect result requires attention to detail. Here's the process.
Step 1: Prepare Your Workspace
You'll need a heat press, a lint roller, and a protective sheet (like parchment paper or Teflon). Ensure your heat press is on a stable surface and preheat it to the recommended temperature. For DTF, typical settings are 150-160°C (300-320°F) with medium pressure.
Step 2: Pre-Press the Garment
Pre-pressing removes moisture and wrinkles from the fabric. This step is crucial because any moisture can interfere with adhesion. Press for 5-10 seconds.
Step 3: Position the Transfer
Place the DTF transfer film onto the garment with the printed side facing up. Make sure it's exactly where you want it. If you need to reposition, do it before pressing.
Step 4: Press the Transfer
Cover the transfer with your protective sheet. Press for 10-15 seconds with medium pressure. The exact time can vary based on your press and film, so always test with a sample first.
Step 5: Peel the Film
DTF transfers are typically cold peel or warm peel. Most modern films are cold peel: wait until the film cools down completely before peeling. If you peel too early, the design may stretch or separate. Once cool, peel the film off in one smooth motion.
Step 6: Post-Press for Durability
For extra durability, especially on stretchy fabrics, cover the design again and press for another 5-10 seconds. This helps the adhesive fully cure and ensures the print withstands washing.
Common Mistakes and How to Avoid Them
Even with a simple process, things can go wrong. Here are some pitfalls to watch for.
- Insufficient pressure: Leads to poor adhesion. Make sure your press applies even, medium pressure.
- Wrong temperature: Too low and the adhesive won't activate; too high and the film may warp or the ink may discolour.
- Peeling too soon: Always let the transfer cool completely for cold-peel films.
- Not pre-pressing: Moisture and wrinkles cause uneven results.
- Using the wrong film: Different films have different peel types and temperature requirements. Always check the manufacturer's instructions.
DTF vs. Other Printing Methods
How does DTF stack up against screen printing, DTG, and vinyl?
- Screen printing: Great for large orders, but setup costs are high and it's not practical for small batches or complex designs.
- DTG (Direct to Garment): Best for 100% cotton, but requires pre-treatment and can be less vibrant on dark shirts.
- Vinyl: Ideal for simple designs, but weeding is time-consuming and multi-color designs are difficult.
DTF shines for its ability to handle intricate, multi-color designs on any fabric without pre-treatment, making it a versatile choice for custom projects.
Tips for Vibrant, Long-Lasting Prints
To get the most out of your DTF transfers, keep these tips in mind.
- Store unused transfers in a cool, dry place away from direct sunlight.
- Wash garments inside out in cold water and tumble dry low.
- Avoid ironing directly on the print.
- Use a quality heat press for consistent results.
- Test different films and powders to find what works best for your fabrics.
Frequently Asked Questions
What fabrics can I use with DTF transfers?
DTF transfers work on almost any fabric, including cotton, polyester, blends, nylon, leather, and denim. They adhere well to both light and dark colors.
How long do DTF prints last?
With proper application and care, DTF prints can last as long as the garment itself. They resist cracking, fading, and peeling through many washes.
Do I need a special printer for DTF?
Yes, DTF printing requires a dedicated DTF printer that uses water-based inks and a powder shaker. However, you can also buy pre-printed transfers from suppliers if you don't want to invest in a printer.
Can I stretch the fabric after applying a DTF transfer?
Yes, DTF prints are stretchable, but it's best to avoid excessive stretching. Post-pressing helps improve elasticity and durability.
Is DTF eco-friendly?
DTF uses water-based inks, which are more environmentally friendly than some other methods. However, the PET film and adhesive powder do create waste, so proper disposal is important.