
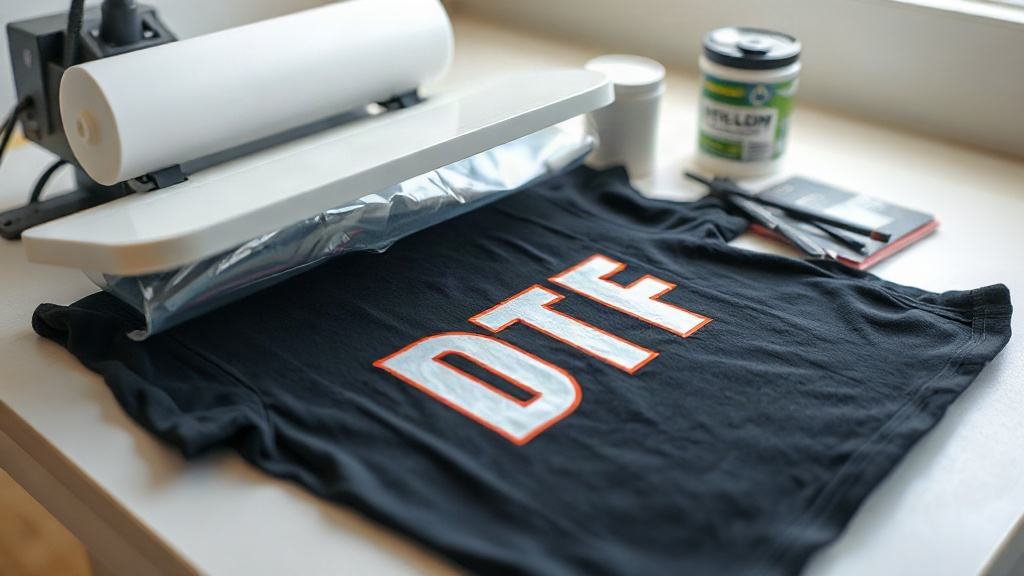
Imagine pressing a vibrant, full-color design onto a dark cotton t-shirt without worrying about dye migration or complicated pretreatment. That's the promise of DTF transfers, a digital printing technology that's rapidly become a favorite for small businesses and hobbyists alike. Unlike traditional screen printing or vinyl, DTF (Direct to Film) opens up a world of possibilities for intricate details and color gradients on almost any fabric. In this guide, we'll walk through the entire DTF process, from creating your artwork to achieving a professional finish that survives the wash.
What Are DTF Transfers?
DTF stands for Direct to Film. It's a printing method where your design is printed onto a special PET film using water-based pigments, then coated with a thermoplastic adhesive powder. Once the powder is cured, the transfer is ready to be applied to a garment using a heat press. The magic lies in the adhesive: when heated, it melts and bonds the ink to the fabric fibers, creating a flexible, durable print.
What sets DTF transfers apart from other methods is their versatility. They adhere to cotton, polyester, blends, and even treated nylon. No need for separate papers or primers for different fabrics. Plus, the prints stretch with the fabric, so they won't crack or peel easily if applied correctly.
Why Choose DTF Transfers Over Other Methods?
If you're a decorator, you've likely tried heat transfer vinyl (HTV) or screen printing. Each has its place, but DTF shines in specific scenarios. Here's why many are making the switch:
- Full-color designs without color separations: DTF handles gradients, photographs, and fine lines effortlessly. You don't need to simplify your artwork for screen printing.
- No weeding required: Unlike HTV, there's no tedious cutting and weeding. Print, powder, cure, and press.
- Works on dark and light fabrics: A white ink base is printed underneath the colors, so your design pops on black or navy without the need for a white underbase layer.
- Durable and stretchable: When applied properly, DTF prints withstand dozens of washes without fading or cracking.
- Cost-effective for short runs: No setup fees or minimums. Print one or one hundred, the cost per transfer remains consistent.
That said, DTF isn't always the best choice. For very large orders of simple one-color designs, screen printing might be cheaper. And if you need a super-soft hand feel, DTF can feel slightly rubbery compared to water-based screen printing. But for most custom apparel needs, DTF delivers an excellent balance of quality and convenience.
The DTF Printing Process Step by Step
Understanding how DTF transfers are made helps you troubleshoot issues and get better results. Here's the workflow from digital file to finished product.
1. Design Preparation
Start with a high-resolution image (300 DPI at the final print size). DTF printers use CMYK plus white ink, so ensure your file is in CMYK mode to avoid color surprises. If your design has transparent areas, the white ink will only print where needed, but the film itself is clear, so the final transfer will have a white base under the colored areas. Remember to mirror your design horizontally before printing; otherwise, text will be backwards when pressed.
2. Printing
The printer lays down a layer of white ink first, followed by CMYK inks. Some printers allow you to adjust the white ink density. More white ink means brighter colors on dark fabrics but can lead to a thicker feel. Experiment to find the sweet spot for your designs.
3. Powder Application
While the ink is still wet, the film passes through a powder shaker that coats it with hot-melt adhesive powder. You then shake off the excess. The powder should stick only to the wet ink. If you see powder in areas without ink, your film might be too wet or the powder too fine.
4. Curing
The powdered film goes into a curing oven (or under a heat gun) at around 160°C (320°F) for 2-3 minutes. The powder melts and forms a smooth, slightly glossy layer. Proper curing is crucial: undercured transfers will wash off, while overcured ones may become brittle. Invest in a good infrared thermometer to check the film temperature.
5. Pressing
Now the transfer is ready to apply. Set your heat press to 150-160°C (300-320°F) with medium pressure. Pre-press the garment for a few seconds to remove moisture. Place the transfer on the fabric, cover with a Teflon sheet or parchment paper, and press for 10-15 seconds. For best results, peel the film while it's still warm (warm peel). If you wait until it's cold, the adhesive might set too hard and pull some fibers.
After peeling, you can do a second press for 5 seconds with the Teflon sheet to smooth the print and improve wash durability.
Common DTF Problems and How to Fix Them
Even with a solid process, issues can arise. Here are a few frequent complaints and their solutions:
- Print washes off after a few cycles: Likely undercured powder or insufficient pressure during pressing. Increase curing time or pressure.
- Cracking: Too much pressure or overcuring can make the ink brittle. Also, stretching the garment excessively when wearing can cause cracks over time.
- Dull colors on dark shirts: Increase white ink density or use a higher white layer setting in your RIP software.
- Powder not sticking: The ink might be too dry before powdering. Check that your printer is laying down enough ink and that the powder shaker is working correctly.
- Transfer feels stiff: Reduce white ink density or use a finer powder. Also, consider the fabric: DTF on polyester can feel stiffer than on cotton.
DTF Transfers vs. Other Decoration Methods
Let's compare DTF to the two most common alternatives: HTV and screen printing.
DTF vs. HTV
HTV requires cutting and weeding, which is time-consuming for complex designs. DTF eliminates that, making it faster for multi-color graphics. HTV can be more cost-effective for single-color text or simple logos, and it often has a softer feel. However, HTV doesn't stretch as well and can peel if not applied perfectly. DTF is more forgiving and offers unlimited colors.
DTF vs. Screen Printing
Screen printing is unbeatable for large runs of simple designs on cotton. It offers a soft hand and low cost per piece at high volumes. But it requires color separations, setup time, and can't handle photographic images easily. DTF excels at short runs, complex art, and synthetic fabrics. Many shops use both: screen printing for team uniforms, DTF for personalized gifts.
Tips for Getting the Best Results with DTF Transfers
Whether you're new to DTF or looking to refine your technique, these tips will help you achieve professional-looking prints.
- Store transfers properly: Keep them in a cool, dry place away from direct sunlight. Humidity can cause the powder to become tacky.
- Use a quality heat press: A clamshell or swing-away press with accurate temperature control is essential. Irons and Cricut EasyPress can work but may give inconsistent results.
- Test on scrap fabric: Every fabric behaves differently. Always do a test press to dial in your settings.
- Pre-press garments: This removes wrinkles and moisture, ensuring the transfer adheres evenly.
- Wash inside out: Advise your customers to wash inside out in cold water and tumble dry low to prolong the life of the print.
Frequently Asked Questions
Can I use DTF transfers on 100% polyester?
Yes, DTF works on polyester, but you need to lower the pressing temperature to around 130-140°C (270-285°F) to avoid scorching or dye migration. Also, polyester doesn't absorb moisture, so pre-pressing is crucial. Some printers offer a low-temperature powder for better adhesion on synthetics.
How long do DTF transfers last?
With proper application and care, a DTF print can last 50+ washes. The key is correct curing and pressing. If you follow the instructions and wash inside out, you can expect the print to outlast the garment itself.
Do I need a special printer for DTF?
You need a DTF printer that uses pigment inks and has a white ink channel. Converted Epson printers are popular for small setups. Alternatively, you can outsource your transfers to a service like DTF Print Go, which allows you to focus on pressing and selling without the upfront equipment cost.
What's the difference between DTF and DTG?
DTG (Direct to Garment) prints directly onto the fabric, while DTF prints onto a film that is then transferred. DTG requires pretreatment and works best on 100% cotton. DTF adheres to more fabrics and doesn't need pretreatment, but the print sits on top of the fabric, giving a slightly raised feel.
Can I layer DTF transfers?
Yes, you can layer DTF transfers, but it's tricky. You need to press the first transfer, peel, then press the second on top. The heat from the second press might affect the first. It's better to design your artwork as a single transfer if possible. If layering is necessary, use a lower temperature for the second press and press for a shorter time.